
“Bible Cliffs Notes” Ringed Mini Book | Faith Life
Hey, friends! I’m thrilled to share a new mini book with you today! We’re diving into how to make a delightful little mini ring book using some fabulous “Bible cliff notes” from How to Faith a Life. Be sure to check out the videos, below to see how this project all came together!
First off, let’s talk about these amazing “Bible Cliff Notes” from How to Faith a Life. They’re informative, beautifully designed, and can be printed in different sizes, since they are digital files! If you’re curious about how to create the other sizing options, I’ve got a video (below) on how to print them six to a page, perfect for our ring book project!
Print and Cut!
Once you’ve got your cliff notes printed (six to a page is what I chose for this project), it’s time to cut them out. They’re about the size of a 3×4 card, which is great if you’re into Project Life– you can use extra cards in your stash (I know you have them!) to add journaling notes and more! I initially wasn’t planning to laminate them, thinking it might add too much bulk. But then I realized, they’re going to be tossed in my bag and might get ruined. Laminating them makes them sturdier and even a bit brighter!
Laminate the pages!
Here’s a little tip from my experience: laminate the pages before cutting them out. This saves you from cutting twice and reduces the chances of fraying edges. I laid out my printed notes in a laminating pouch, ran them through the laminator, and then cut them out. The laminated pages are more durable and can withstand spills—perfect for on-the-go use.
Supplies I used:


“How To Faith a Life” Bible Cliff Notes (SO good and informative! Highly recommend!


Please note, some links may be affiliate! Thanks for supporting my blog with your clicks!
Assembling the Ring Book
Now, it’s time to put everything together. Grab some binder rings (I pulled out several different sizes, but ended up using the biggest one) and punch a hole in the top left corner of each laminated card. (This spot usually has enough space for a hole without cutting into the text.) Once the holes are punched, string the cards onto the binder ring. (I may end up adding some ribbon to the ring later, but for now, it’s great!)
I love how this ring book turned out! It’s compact, durable, and oh-so-cute. To make it even more functional, I will probably be adding tabs to easily find notes for specific books of the Bible. I am also planning incorporating Library of God cards and prayer request cards from my shop. These match the cliff notes perfectly and can be punched and added to the ring book. Think of this as a living document—a place to record your faith journey, study notes, and reflections.
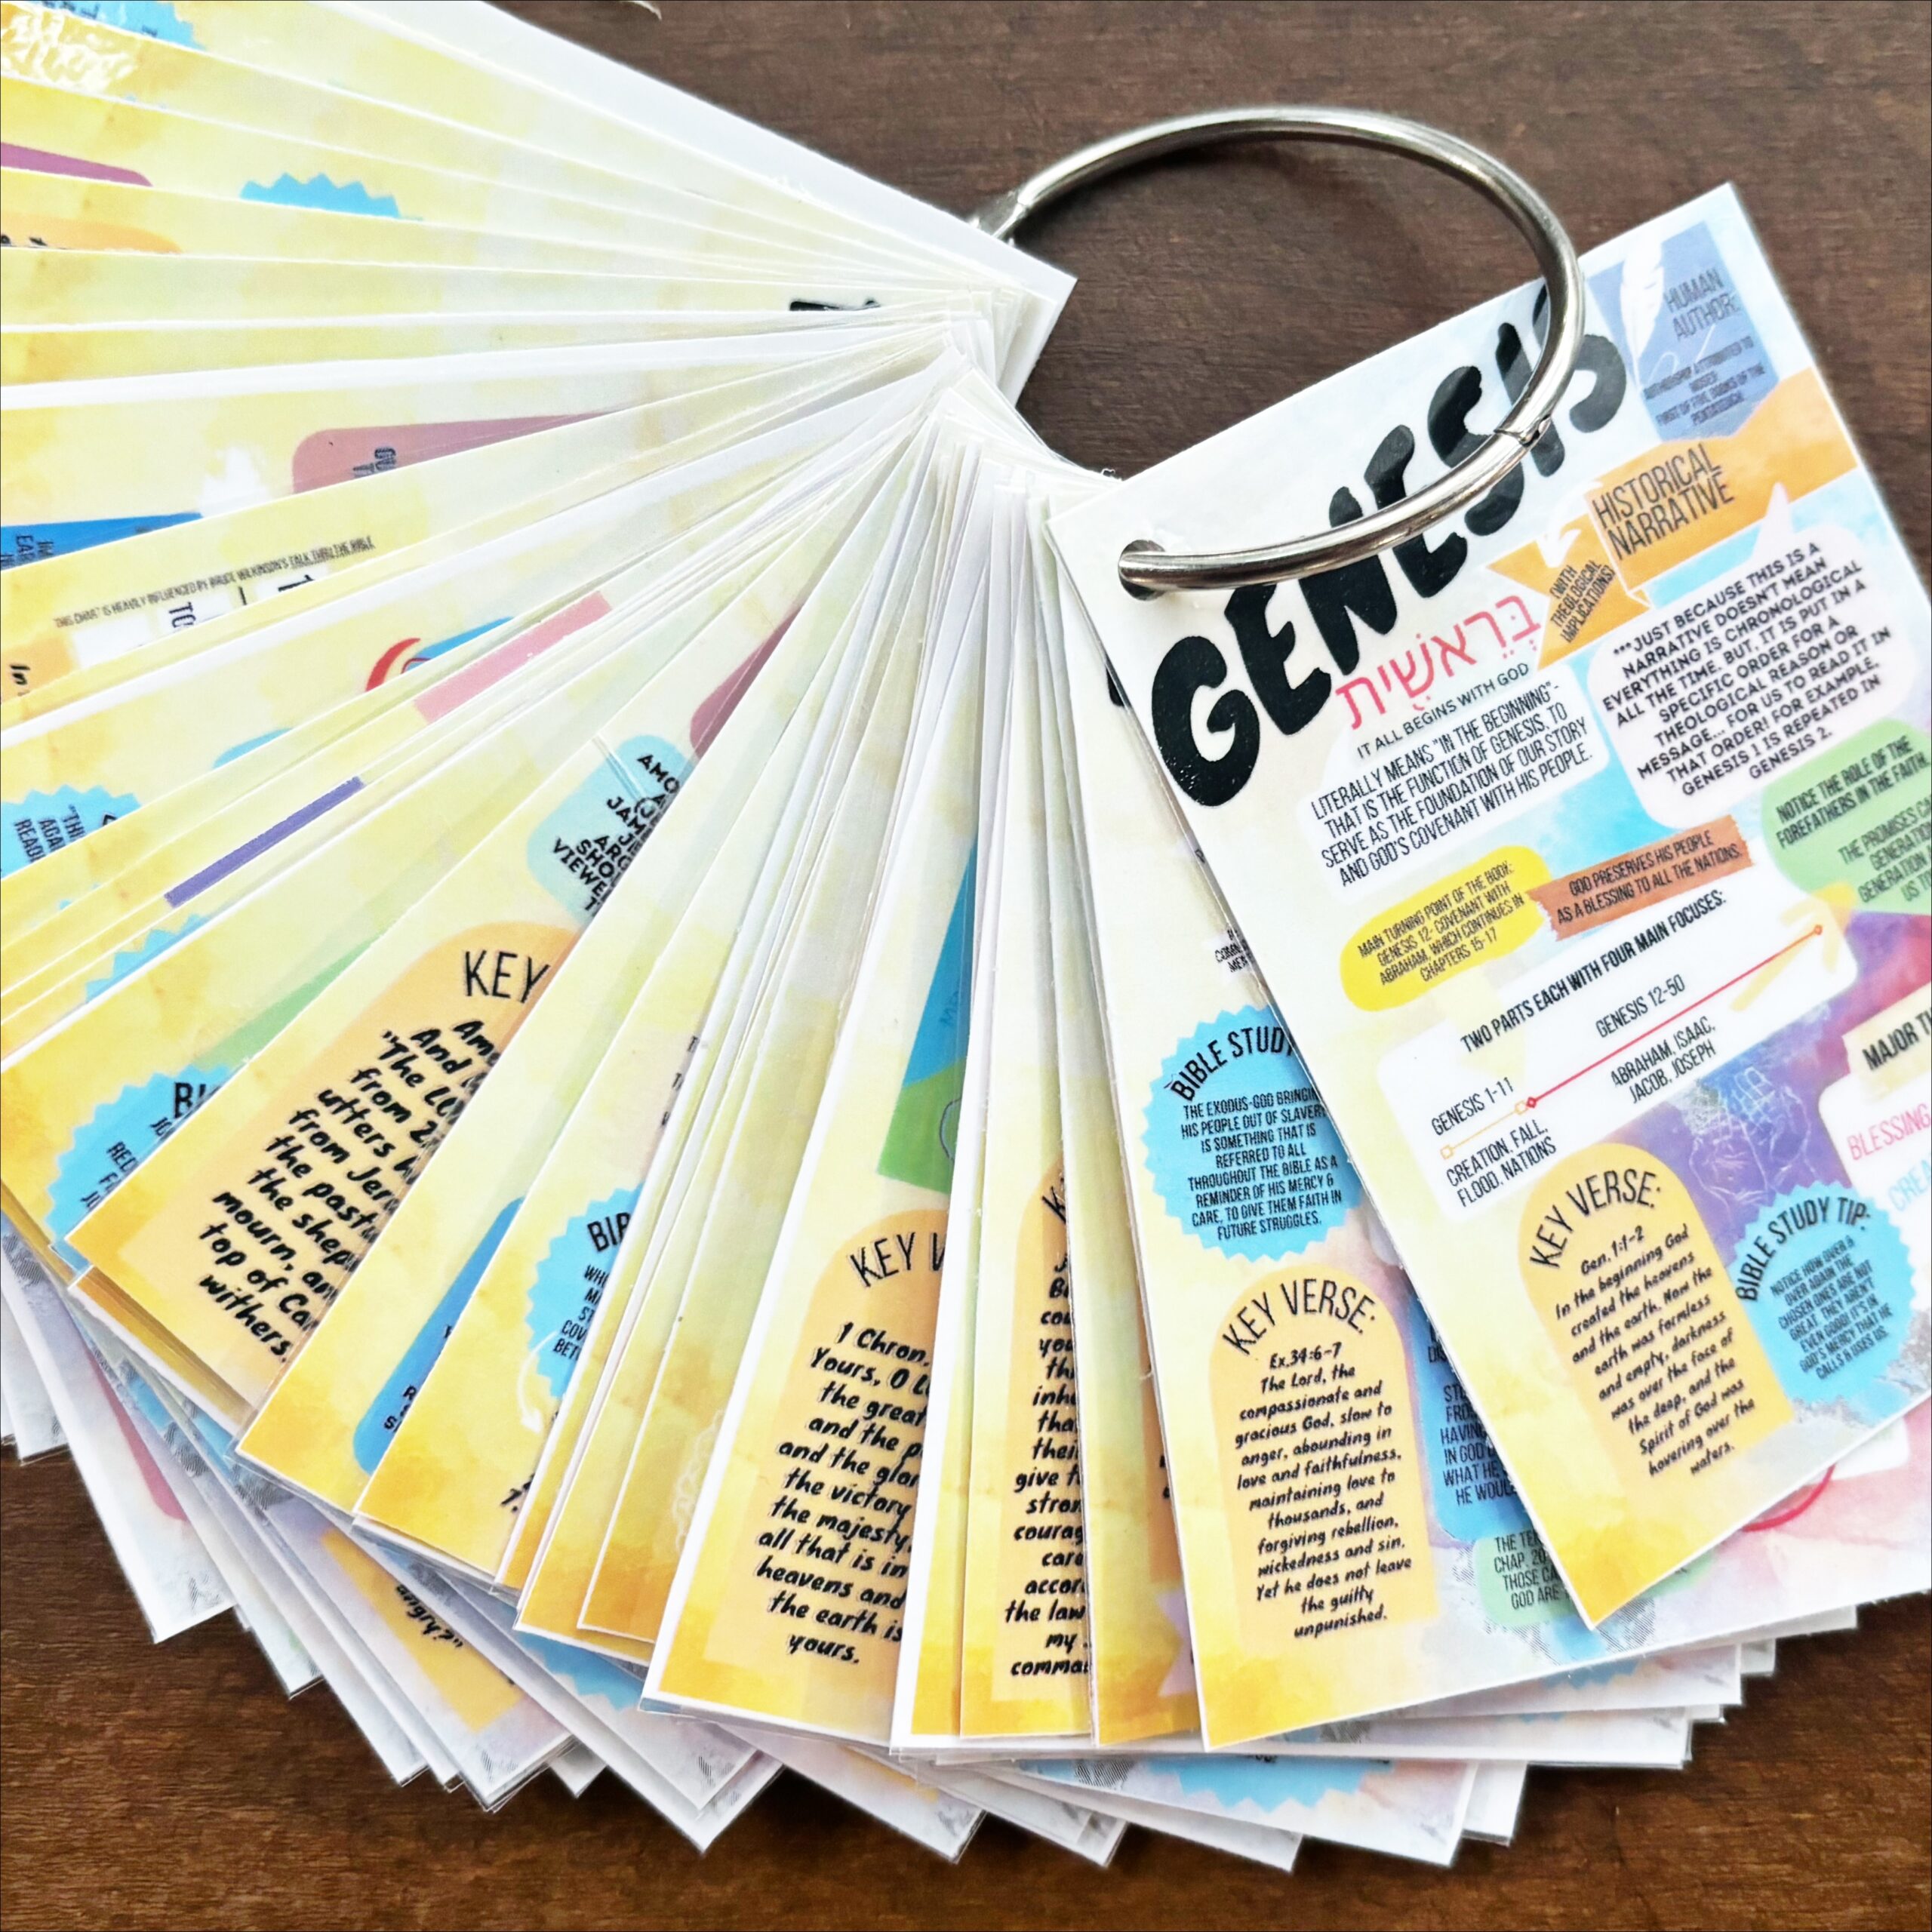
You guys know that I love a good ringed book, and this is no exception! It’s a practical, creative way to organize your faith materials and keep them handy. Laminating the pages, adding binder rings, and personalizing with tabs and ribbons can make this project both fun and functional. I hope this inspires you to create your own ring book, or even to just pick up Faith’s Cliff notes! They are an amazing resource!
Ready to make your own mini ring book? Share your creations and any tips you have in the comments below! Don’t forget to check out the videos for more detailed instructions. I can’t wait to see what you come up with—happy crafting, friends!


