| | |

DIY Custom Pens: A Quick & Easy Tutorial (Only 6 steps!)
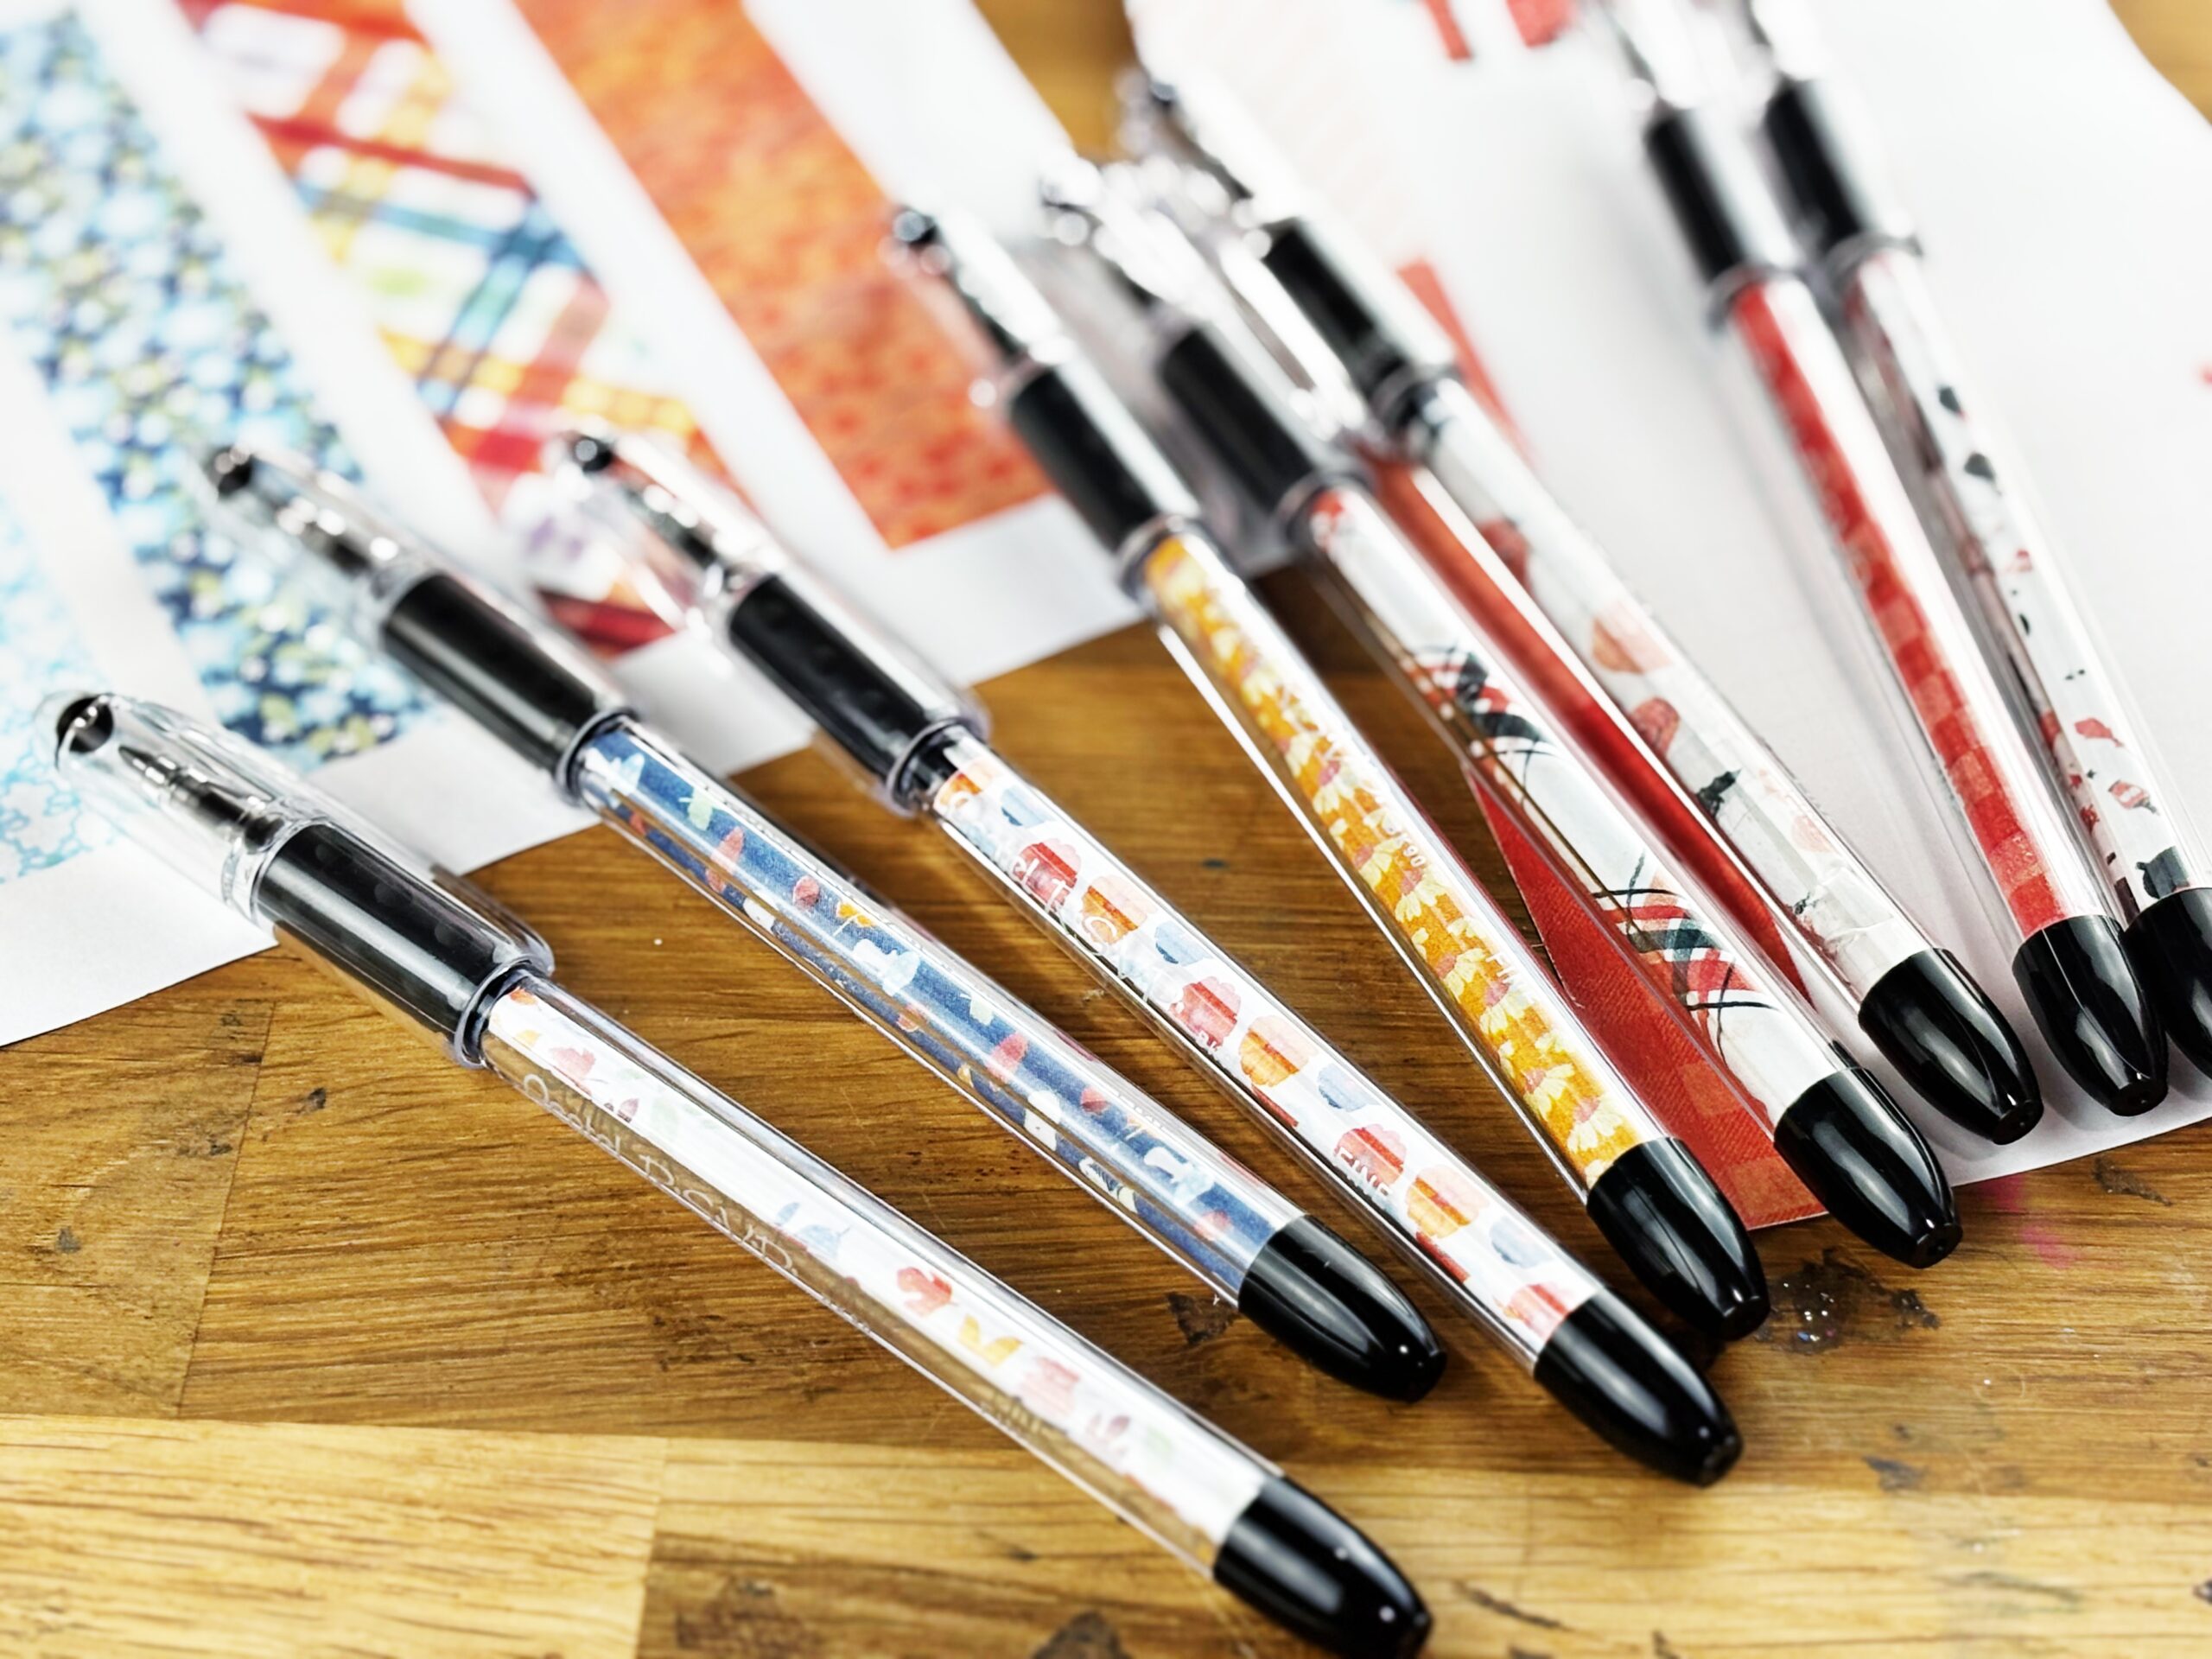
DIY Custom Pens: Create custom scrapbook paper pens in minutes with this easy DIY tutorial! Using simple supplies like clear-barrel RSVP pens and patterned scrapbook paper, you’ll learn how to make beautiful, personalized pens that are perfect for journaling, scrapbooking, teacher gifts, or everyday use. This beginner-friendly craft project is a fun way to use up paper scraps and add a creative touch to your writing tools. Great for crafters, planners, and memory keepers looking for unique and affordable handmade gift ideas.

Hey friends, I’m here to share a fun, budget-friendly project that adds a color to your everyday pens! Today I’m showing you how to turn ordinary pens into custom creations using scrapbook paper. These make perfect gifts, teacher treats, or just a little happy for your own desk. Come learn how to make these fun diy custom pens with me!

What You’ll Need

I used the Autumn Glow collection from Traci Reed Designs for these newest pens, but I’ve used Jack and Skelly in the past — any of Traci’s amazing kits would work well!

Create custom scrapbook paper pens in minutes with this easy DIY tutorial! Using simple supplies like clear-barrel RSVP pens and patterned scrapbook paper, you’ll learn how to make beautiful, personalized pens that are perfect for journaling, scrapbooking, teacher gifts, or everyday use. This beginner-friendly craft project is a fun way to use up paper scraps and add a creative touch to your writing tools. Great for crafters, planners, and memory keepers looking for unique and affordable handmade gift ideas.


Check out the video below to see how I do it, or keep reading for the steps!

Here’s how to create these fun pens!


  • Step 1: Take the Pen Apart – Unscrew the barrel and cap of your pen and pull out the ink refill.
  • Step 2: Cut Your Paper Cut your scrapbook paper into narrow strips—slightly longer than the barrel of the pen. It’s okay if they’re a little too long; you’ll trim later.
  • Step 3: Roll the Paper Using the pen refill as a guide, tightly roll your strip of paper around it. Roll diagonally at first to get a snug fit, then straighten it out. The tighter the roll, the smoother it will fit into the pen.
  • Step 4: Insert Into the Barrel Slip your rolled paper into the clear barrel of the pen. Rotate it so any seam is hidden.
  • Step 5: Trim the Extra If a bit of paper is sticking out, gently pull it back, trim with scissors, and slide it back in for a perfect fit.
  • Step 6: Reassemble the Pen Pop the refill back in, screw the pen closed, and you’re done. You now have a one-of-a-kind pen that matches your favorite paper collection.

Extra Tips & Ideas

  • Want to swap papers later? Try rolling your strips around a slim straw first, then sliding that into the barrel for easy paper changes. (Check out this creator for a tutorial. This isn’t MY favorite way to do it, but you might like it better!)
  • Make a matching pen set from one scrapbook collection for a fun coordinating gift. Pair them with handmade cards, notepads, or tags for teachers, coworkers, or friends.
  • Seasonal papers = seasonal pens. Halloween, Christmas, or even back-to-school designs make this project extra versatile.

That’s it—just a few minutes to go from plain pens to colorful, custom creations!


Featured Posts


Similar Posts